How to describe your course or research group in the SIGHI-Italy repository.
The SIGCHI-Italy is maintaining a list of HCI courses and research groups in Italy. You can propose to add your own through a pull request to the SIGCHI-Italy repository. You can also request some changes to the existing content following the same procedure.
For completing the guide, you will be needing a GitHub account.
Step 1: Fork the SIGCHI-Italy repository
- Log-in using your GitHub account
- Fork the SIGCHI-Italy repository. This will create your personal copy of the repository. If you already sent content in the past, you can reuse the existing one and skip this point.

Step 2: Create a new branch for the request
Create a new branch in your copy of the repository, as shown in the following image.
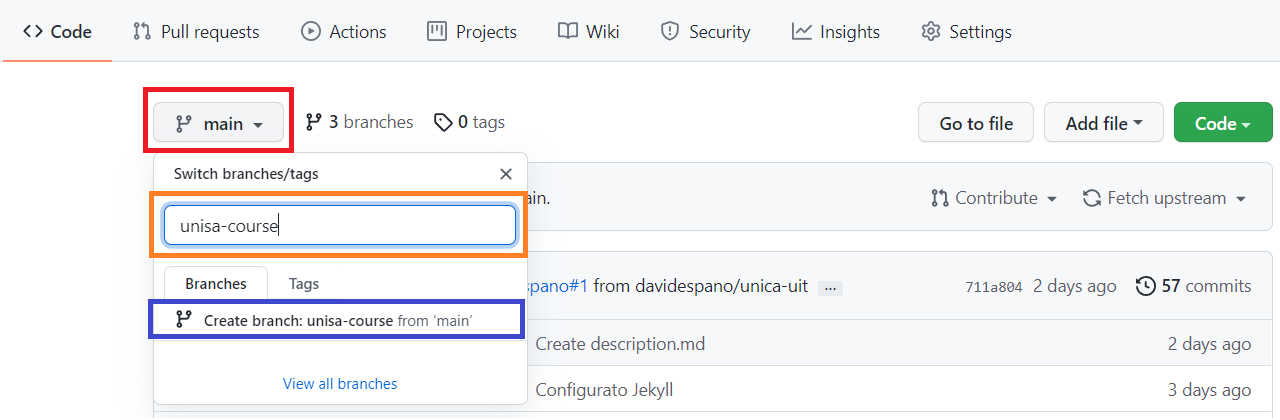
- Click on main (red box)
- Enter a branch name (orange box). In order to help us with the management, please name the branch as follows
[institute acronym]-[course acronym]for courses (e.g., unisa-ium) for courses[institute acronym]-[group acronym]for research groups (e.g., unica-cg3hci).
- Finally, click on
Create Branch(blue box).
In this way, you have created a new branch in your copy of the project.
Step 3: Create or Edit the content
Before proceeding, please double-check that you are modifying the branch created at Step 2.
Propose new content
If you are proposing a new course or research group, please complete the following steps:
-
Go to the
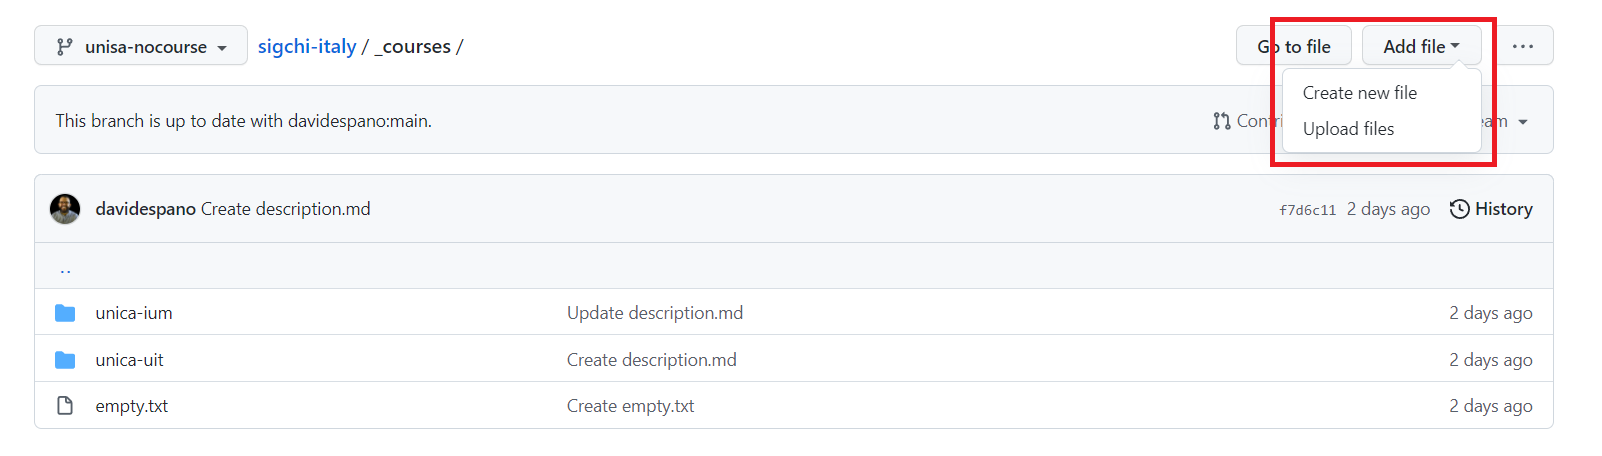
_coursesif you are proposing a course. Instead, if you are proposing a research group, go to the_research_groupsfolder. -
Click on
Add file, thenCreate new file.
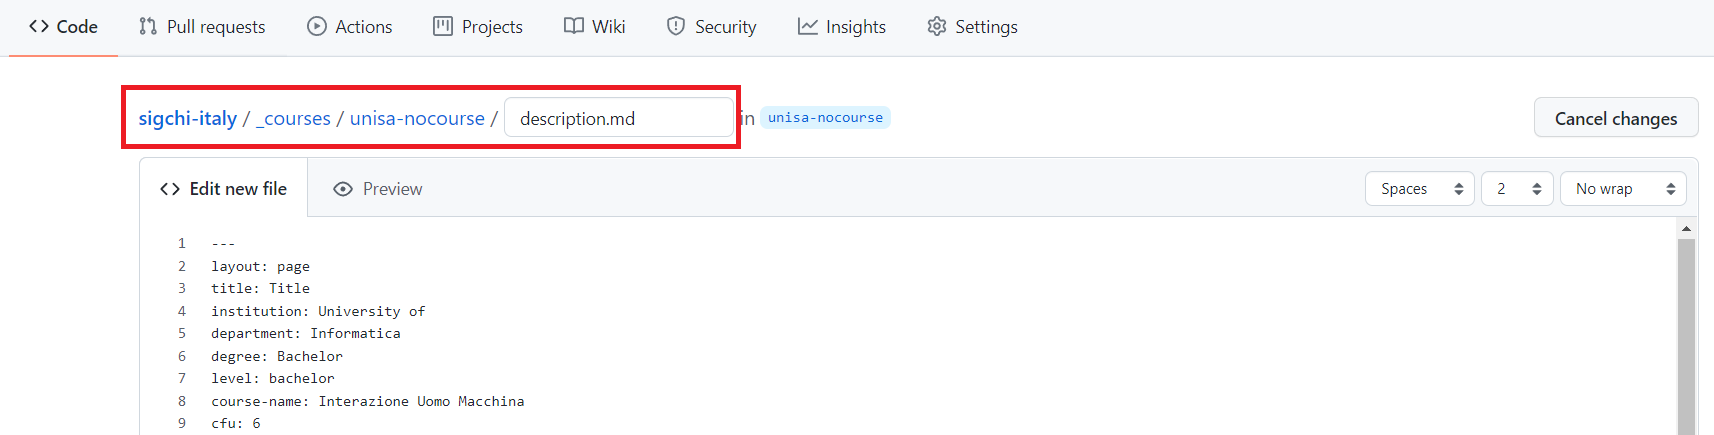
- Create a file named
[institute acronym]-[course acronym]/description.mdfor the new course.[institute acronym]-[group acronym]for the new research groups.
- Copy & Paste the content of an existing course or research group description and adapt it to your needs.
- Sample course : UniCA-IUM
- Sample research group: UniCA-CG3HCI
-
The resulting file must contain a structured data section (between the two
---), and the content written in Markdown syntax. - (Optional) Upload assets files (e.g., logos, member pictures) inside the
[institute acronym]-[course acronym]or[institute acronym]-[group acronym]folder. You can refer them using relative URLs inside the Markdown content.
Modify existing content
In this case the procedure is simpler. Change the existing content through the GitHub editor and proceed to the next step.
Step 4: Commit the changes in your repository copy
- (Optional, but recommended) Add a small summary of the new or changed content you are proposing.
- Commit to your repository by clicking the
Commit new filebutton. If you are requesting changes to existing content, press theCommitbutton.

Step 5: Send the pull request to the original project.
-
Click on
Pull Requests;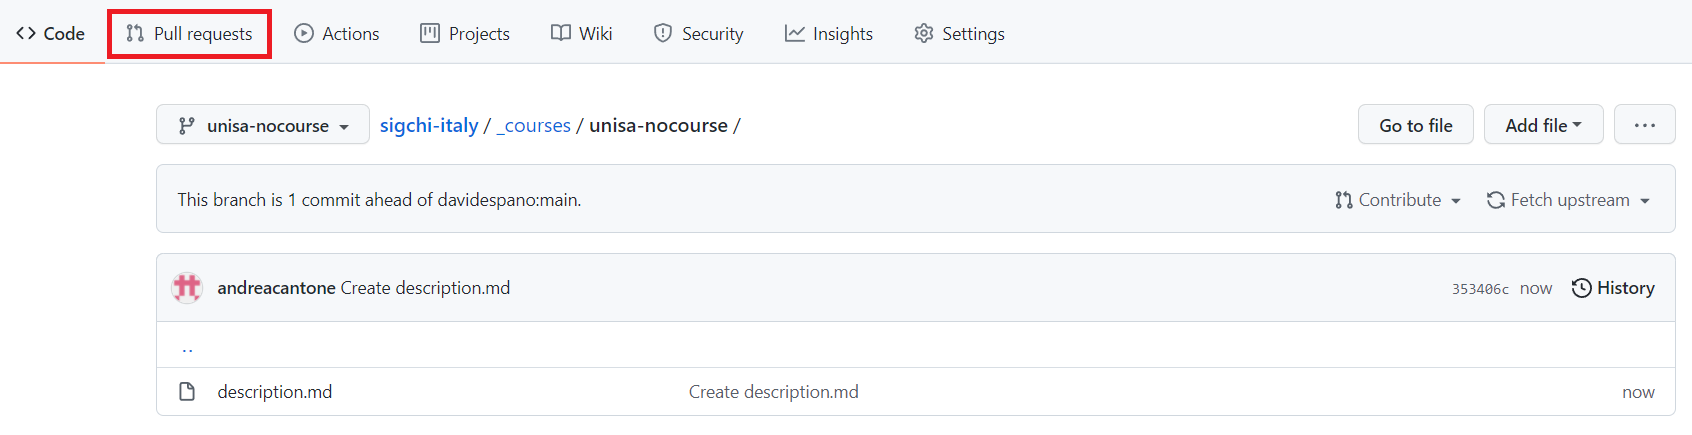
-
Then, click the
Compare & pull requestbutton;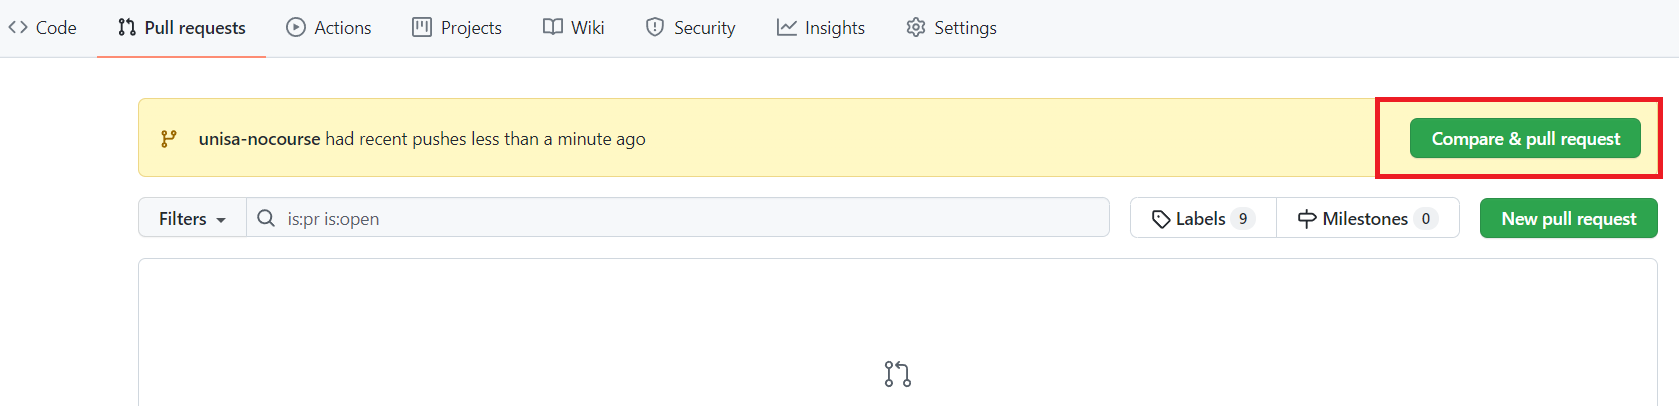
-
Finally, click the
Create pull requestbutton.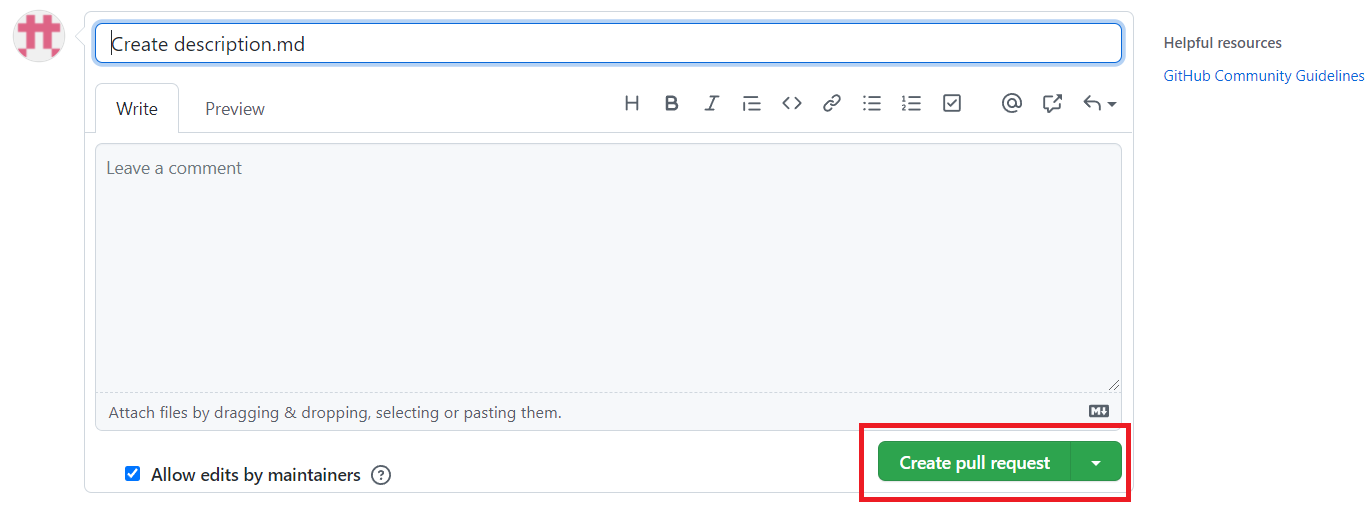
That’s all, folks!
Congratulations, you completed the pull request process! Once accepted, the new content or the updates will published in the website. In case you will need to change it, you can send another pull request.